

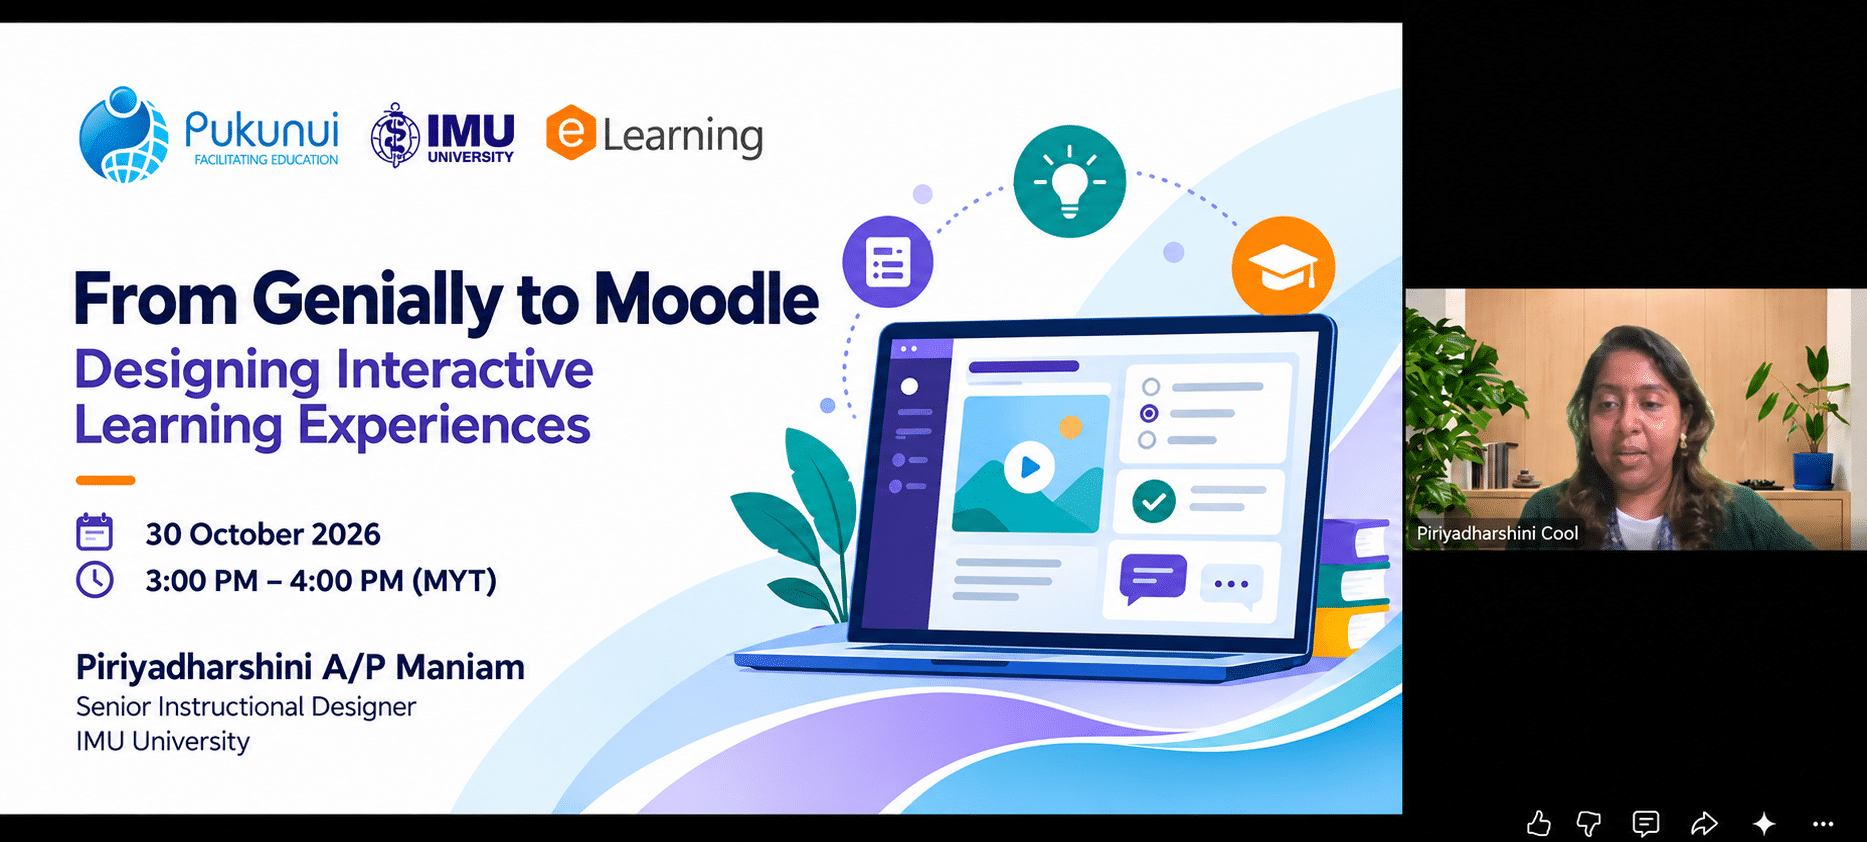
From Genially to Moodle: Designing Interactive Learning Experiences
How can educators turn familiar teaching materials into interactive learning experiences that encourage students to explore, respond and check their understanding? In the 10th #LearnWithPukunui webinar of 2026, Piriyadharshini Maniam, Senior Instructional Designer at IMU University, demonstrated how to transform existing learning content into an interactive Genially resource and make it available within a Moodle course.
From ‘Static Content’ to ‘Active Learning’
Educators often have useful content ready in the form of presentation slides, notes, PDFs and infographics. The challenge is deciding what learners should do with that information. Should they explore an explanation, make a choice, apply an idea or check their understanding?
Priya emphasised that adding buttons, quizzes or animations does not automatically improve learning. An interaction is valuable when it supports a clear learning purpose. Instead of presenting every detail at once, educators can organise information into manageable sections and invite learners to explore one idea at a time, respond to a prompt and receive feedback.
The session highlighted four useful purposes for interaction:
- Focus – direct learners’ attention to an important term, feature or part of an image.
- Chunk – break complex information into smaller, more manageable sections.
- Respond – invite learners to make a choice or answer a question rather than only read or listen.
- Feedback – help learners understand whether their response is correct and why, with an opportunity to try again where appropriate.
The guiding principle was simple: decide what learners need to do first, then choose the Genially features that support that learning purpose.
Getting started with Genially
Genially is a web-based tool for creating interactive resources such as presentations, infographics, games and other learning materials without writing code. Educators can add clickable buttons, reveal information, open windows, link to external resources and navigate between pages.
For new users, Priya recommended starting with a template. Genially offers a range of layouts for presentations, infographics and other educational resources. A template can provide a useful visual starting point: educators can replace the sample text and images, remove irrelevant pages and adapt the design to their subject. Existing PowerPoint materials can also be imported, or users can begin with a blank canvas.
The choice of template should not replace instructional design decisions. Educators still need to define the learning goal, select the content, decide what learners should do and determine how understanding will be checked.
A practical demonstration: Managing Everyday Stress
For the hands-on demonstration, Priya used an infographic titled Managing Everyday Stress to show how educators can transform existing static teaching materials into an interactive learning resource.
Rather than creating content from scratch, the demonstration focused on taking an existing infographic and enhancing it with interactive elements. Below is the step-by-step process demonstrated during the session.
Step 1: Start with a Blank Canvas
Log in to Genially and select the blank canvas option to begin creating a new project. Give your project a clear title to make it easier to organise and manage later. For this demonstration, Priya named the project Managing Stress.
Step 2: Upload Your Background and Visual Elements
From the left-hand toolbar, select the Upload option to add your background image and other visual assets.
Once uploaded, arrange the images and buttons on the canvas. You can drag and position the elements just as you would when working with PowerPoint. Priya also demonstrated how to align the objects and maintain consistent sizing to create a neat and organised layout.
If you are creating content for an institution, remember to include your university or organisation’s logo to maintain consistent branding.
Step 3: Add Your Title and Supporting Text
Use the Text option in the editor to insert your main title and subtitle. Replace the placeholder text with your own content and customise the font type, size and colour to suit your design.
For this activity, Priya used the title Managing Everyday Stress, followed by supporting text to introduce the topic.
Step 4: Add Interactive Buttons
Next, add buttons to the infographic to organise the learning content into different sections.
Genially provides a selection of ready-made interactive elements. Choose a suitable button, position it on the canvas and customise its appearance, including its colour and text.
Priya added several buttons to guide learners through the infographic, including sections for information, practical responses, support and a knowledge check.
Step 5: Configure the Interactive Elements
This is where the static infographic becomes interactive. Select each button or object, open the Interactivity settings and choose the interaction that best suits the content.
Priya demonstrated several types of interactions:
- Tooltips for short information: Select the Tooltip option when you want to display a brief explanation. When learners hover over or select the button, a small information box appears. This works particularly well for short notes, definitions or labels.
- Open windows for longer explanations: For content that requires more detail, select Open Window. Genially provides different window layouts that you can customise with text, bold formatting, bullet points and images. Priya used this option to present a longer explanation about managing stress.
- Open windows for video and text: If your content includes a video, choose a suitable window layout that supports both video and text. Replace the sample video with your own and add a short supporting explanation to help learners understand the material.
- Web links for additional resources: To direct learners to external resources or support services, select the Navigation – Web Link option. Insert the relevant URL so learners can access the additional information when they click the button.
Step 6: Add a Knowledge Check
To assess learners’ understanding, Priya added a Knowledge Check button to the infographic.
Select the button, open the Interactivity settings and choose Open Window. From there, select a blank window and insert an interactive question.
Genially provides different question types, including single-choice and multiple-choice questions. For the demonstration, Priya used a single-choice question.
Configure the answer options and identify the correct answer. An important part of this process is setting up feedback for both correct and incorrect responses. This allows learners to understand their performance and receive guidance based on their answers.
You can add more questions depending on your learning objectives and the level of understanding you want to assess.
Step 7: Apply Simple Animations
Once the interactive elements are in place, you can add animations to make the infographic more engaging.
Select an object and open the Animation settings. Genially allows you to choose when an animation takes place, such as when an object enters, remains on the screen or exits.
Priya demonstrated a simple fade-in animation for the visual elements and an attention-drawing animation for the Knowledge Check button to encourage learners to interact with it.
Step 8: Preview and Test Your Infographic
Before sharing your work, preview the completed activity to make sure everything functions as intended.
Check that:
- All buttons display the correct information.
- Tooltips and open windows appear as expected.
- Videos and external links work correctly.
- Knowledge-check questions display the correct answers and feedback.
- Animations appear at the appropriate time.
- The overall layout is clear and easy to navigate.
Once everything is in place, your interactive infographic is ready to be shared or integrated into Moodle.
A key takeaway from the demonstration: You do not need to use every feature available in Genially. Start with your learning objectives, select the interactions that support them and keep the activity manageable. Even a simple infographic with a few purposeful interactive elements can create a more engaging learning experience.
Bringing Genially Activities into Moodle
After creating and previewing the interactive resource, Priya demonstrated three ways to make it available to learners through Moodle: a URL link, an embedded iFrame, or a SCORM package.
The most suitable method depends on the intended learner experience and whether learner completion or scores need to be reported to Moodle.
1. Add the Genially Resource as a URL
The URL option is a straightforward way to share a Genially activity. The educator copies the share link from Genially, adds a URL resource to the Moodle course, gives it a clear name and configures how it should open, such as in a new window.
Learners can then select the link in Moodle to access the Genially resource.
This method is easy to set up, but learner progress and scores from the Genially activity are not automatically reported to Moodle through the URL link.
2. Embed the Activity Using an iFrame
The iFrame method allows the Genially activity to appear directly within a Moodle page.
The educator copies the iFrame embed code from Genially, opens the Moodle page editor’s source-code view and pastes the code into the page content. Learners can then interact with the resource without navigating to a separate external page.
Although the activity is displayed within Moodle, the iFrame method does not automatically send Genially question scores or completion information to the Moodle gradebook or activity completion tracking.
3. Export and Upload a SCORM Package
For courses where learner tracking is important, Priya demonstrated how to export a Genially activity as a SCORM package and upload it to Moodle using the SCORM package activity.
She highlighted that SCORM export requires a Genially plan that includes this feature; it is not available with the free account.
During export, educators can configure how learner progress is measured, such as by completion, a score threshold or the percentage of pages viewed. Priya also recommended SCORM 1.2 for compatibility.
Once uploaded and configured in Moodle, the SCORM package can report supported completion and score information to the LMS.
The main consideration is the level of tracking required. URL and iFrame options are suitable when the priority is sharing and displaying content, while SCORM is the more appropriate option when supported completion or score data needs to be reported to Moodle.
Choosing the Right Integration Method
| Method | Best suited to | Moodle tracking |
|---|---|---|
| URL link | Quick sharing and simple access to a Genially resource | No automatic Genially score or completion reporting |
| iFrame embed | Displaying the resource within a Moodle page | No automatic Genially score or completion reporting |
| SCORM package | Activities requiring supported completion and score reporting | Can report supported completion and score data, depending on configuration |
Priya also suggested an alternative for educators using URL links or iFrame embeds. They can add a Moodle Quiz or Forum activity after the Genially resource to collect learner responses and assess understanding.
This allows educators to monitor learning through Moodle even when the Genially interaction itself does not report results to the LMS.
Designing for Mobile Learners
During the Q&A session, a participant asked about designing Genially resources for learners who access Moodle through mobile devices.
Priya explained that Genially content can be viewed on different devices, including phones, tablets and PCs. She clarified that there is no dedicated Genially mobile app for creating content, as content creation is carried out through an online account. However, completed Genially resources can be viewed on mobile devices.
For educators, it is still important to preview and test activities on the devices their learners are likely to use. Pay particular attention to navigation, text readability and interactive elements to ensure the activity remains accessible and easy to use.
Key Takeaways for Educators
The webinar highlighted several practical considerations when designing interactive learning experiences:
- Start with the learning objective. Identify what learners should understand or be able to do before deciding which interactive features to use.
- Make use of existing resources. Repurpose slides, notes, images and infographics rather than creating every activity from scratch.
- Keep interactions purposeful. Choose the interaction type according to the information being presented and the response expected from learners.
- Include meaningful feedback. Feedback helps learners understand their responses and reinforces the intended learning.
- Choose the right Moodle integration method. Consider whether the activity needs simple access, embedded viewing or LMS tracking.
- Test the learner experience. Preview the finished resource and check that it works as expected, including on mobile devices.
A Practical Next Step: Start Small
- Creating an interactive learning resource does not have to be complicated or time-consuming.
- Start with one existing teaching resource, such as a presentation slide, infographic or set of learning notes. Identify which parts could benefit from an explanation, an interactive element or a short knowledge check.
- Use Genially to create a simple first version, preview the activity and make improvements before sharing it with learners through Moodle.
- As Priya’s demonstration illustrated, educators do not need to use every feature available. A small number of well-chosen interactions can already make learning materials more engaging, accessible and easier to explore.
Watch the Webinar and Get Your Certificate!
Missed the live session? You can still catch up!
Watch the full webinar recording, revisit Priya’s demonstration and explore how you can transform your existing teaching materials into interactive learning experiences with Genially and Moodle.
Watch the webinar recording and complete the online process to receive your certificate of participation.
We hope this session inspires you to bring more creativity and interaction into your Moodle courses!
Stay tuned for more learning insights and upcoming sessions from #LearnWithPukunui.
